Golden Hour Photography Secrets: Shooting With the Canon R5 + EF 135mm Lens
Nov 24, 2025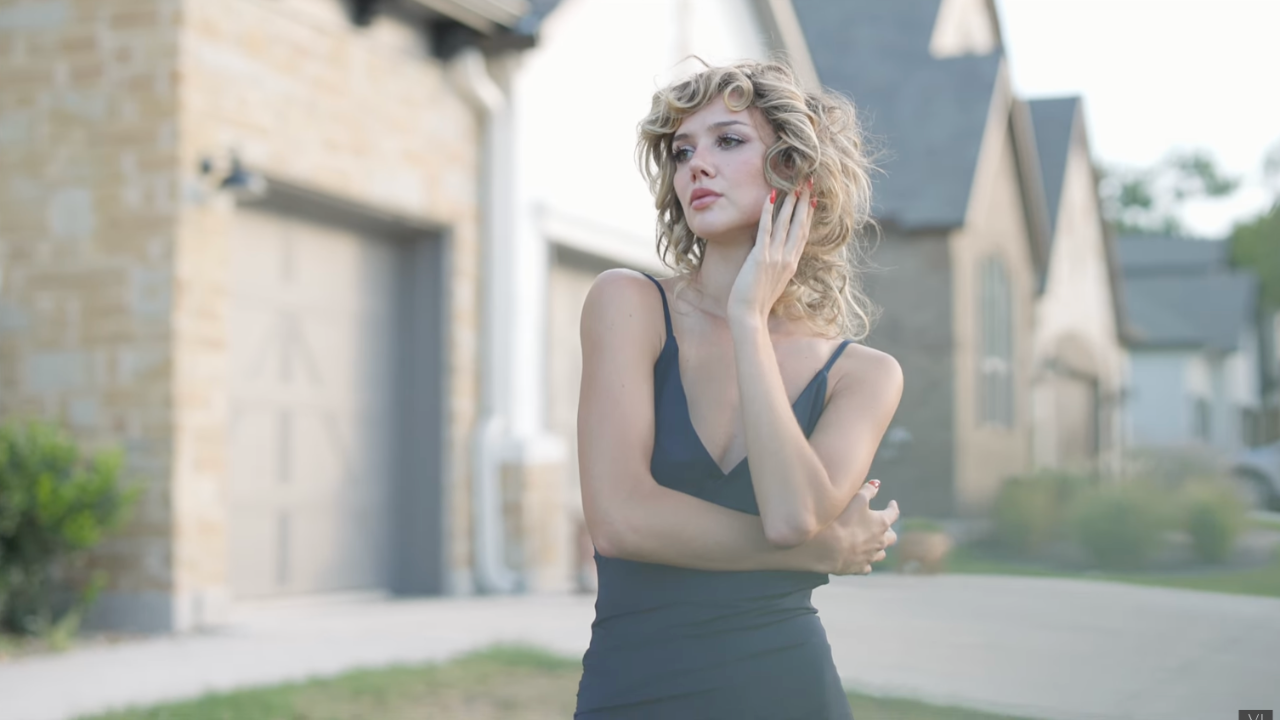
Golden hour is every photographer’s dream, but knowing how to maximize that warm, hazy glow is what separates a good portrait from a magical one. In this behind-the-scenes shoot, I used the Canon R5 paired with the legendary EF 135mm f/2 lens, and I’m breaking down exactly how I achieved dreamy backlit portraits, how I controlled the light with a simple reflector, and how I edited the final images in Lightroom.
Whether you’re new to golden hour photography or looking to refine your technique, this guide will walk you through camera setup, posing, lighting, and editing — optimized for photographers who want buttery, glowy, high-impact portraits.
⭐ Why the Canon R5 + EF 135mm Is Magic at Golden Hour
The Canon R5 already gives you:
- Rich dynamic range
- Incredible eye-tracking autofocus
- Beautiful color depth
But pairing it with the EF 135mm f/2 creates:
- Extra compression
- Dreamy background haze
- Smooth, creamy bokeh
- A flattering portrait perspective
This combination enhances the natural glow from backlighting — perfect for golden-hour portrait sessions, weddings, or editorial work.
SEO Keywords: canon r5 golden hour settings, 135mm portrait photography, golden hour backlit portraits, canon r5 portrait tips
☀️ Step 1: Finding the Right Golden Hour Light
Golden hour is "easy” to shoot — but smart placement takes your images to the next level.
Look for these three things:
1. Sun at a 45° Angle Behind Your Subject
This creates:
- Warm rim light on the hair
- A soft, hazy glow
- Depth and separation
2. Light Hitting Background Elements
I love when trees catch that warm light — it creates whimsy and dimension behind the subject.
3. A Clean Foreground or Added Haze
Standing slightly offset increases haziness and atmospheric flare.
🪞 Step 2: Using a Reflector for Balanced Light
Even with great backlight, the front of your subject can fall into shadow.
I used a silver reflector positioned close to the model to:
- Restore detail in the face
- Add a pop of contrast
- Keep the skin bright and clean
Silver gives a crisp look (perfect for the 135mm’s style), but gold reflectors also work well for warmer skin tones.
SEO Keywords: golden hour reflector photography, backlit portrait fill light, canon r5 portrait lighting tips
🏛️ Step 3: Using Elevation for Creative Angles
We found a tiny balcony with the last little bit of golden hour glow. Shooting from a higher angle helps:
- Minimize distracting ground elements
- Use the sky more strategically
- Create more flattering leading lines
- Add drama to the pose
When shooting elevated angles:
- Have the subject lean toward the light
- Exaggerate hip angles for flattering curves
- Play with negative space
- Embrace blown-out skies if needed
Pro tip:
Don’t fight a blown-out sunset if it enhances mood. Sometimes pure white is more modern, clean, and editorial.
🎨 Step 4: Editing Golden Hour Photos in Lightroom
After selecting my favorite images, I edited them in Adobe Lightroom using presets to speed up workflow.
My go-to adjustments for golden hour portraits:
1. Start With a Clean Preset
I often begin with:
- Fresh & Clean (for bright portraits)
- Joyfully Simple (for classic portraits)
- Faded Black & White (for high-impact B&W)
Presets don't finish the work — but they get you 60–70% of the way there.
2. Color Adjustments
Typical tweaks include:
- Small lift in warmth
- Touch of magenta to balance greens
- Slight desaturation for softer skin
3. Local Adjustments (Masking)
I use these subtle brushes:
- Saturate Eyes
- Punch Lashes
- Soften Skin
- Whiten Eyes
Always subtle. The goal is polish, not plastic.
4. Cropping With Intention
I love:
- Negative space
- Asymmetric framing
- Dramatic thirds
- Intentional blown highlights
Golden hour gives you permission to shoot creatively, not clinically.
SEO Keywords: lightroom golden hour editing, canon r5 editing workflow, portrait editing tutorial
💡 Final Thoughts: Mastering Golden Hour Photography
Golden hour isn’t difficult — but intentional choices make the difference:
- Choose a lens that enhances haze → the 135mm is perfect
- Position your subject with the sun behind them
- Use a reflector for clean, balanced light
- Move elevation for creative angles
- Edit with soft, dreamy, warm tones
If you shoot portraits, weddings, or editorial work, mastering golden hour photography will elevate your portfolio instantly.
Are you ready to stop guessing and start growing your photography business with proven strategies?
My Mastermind program is designed for photographers who want to scale, find freedom, and build a business they truly love. Inside, you’ll get personalized coaching, step-by-step guidance, and the community support you need to thrive.
See if it’s the right fit for you: https://www.breatheyourpassion.com/photo-insiders-mastermind-optin

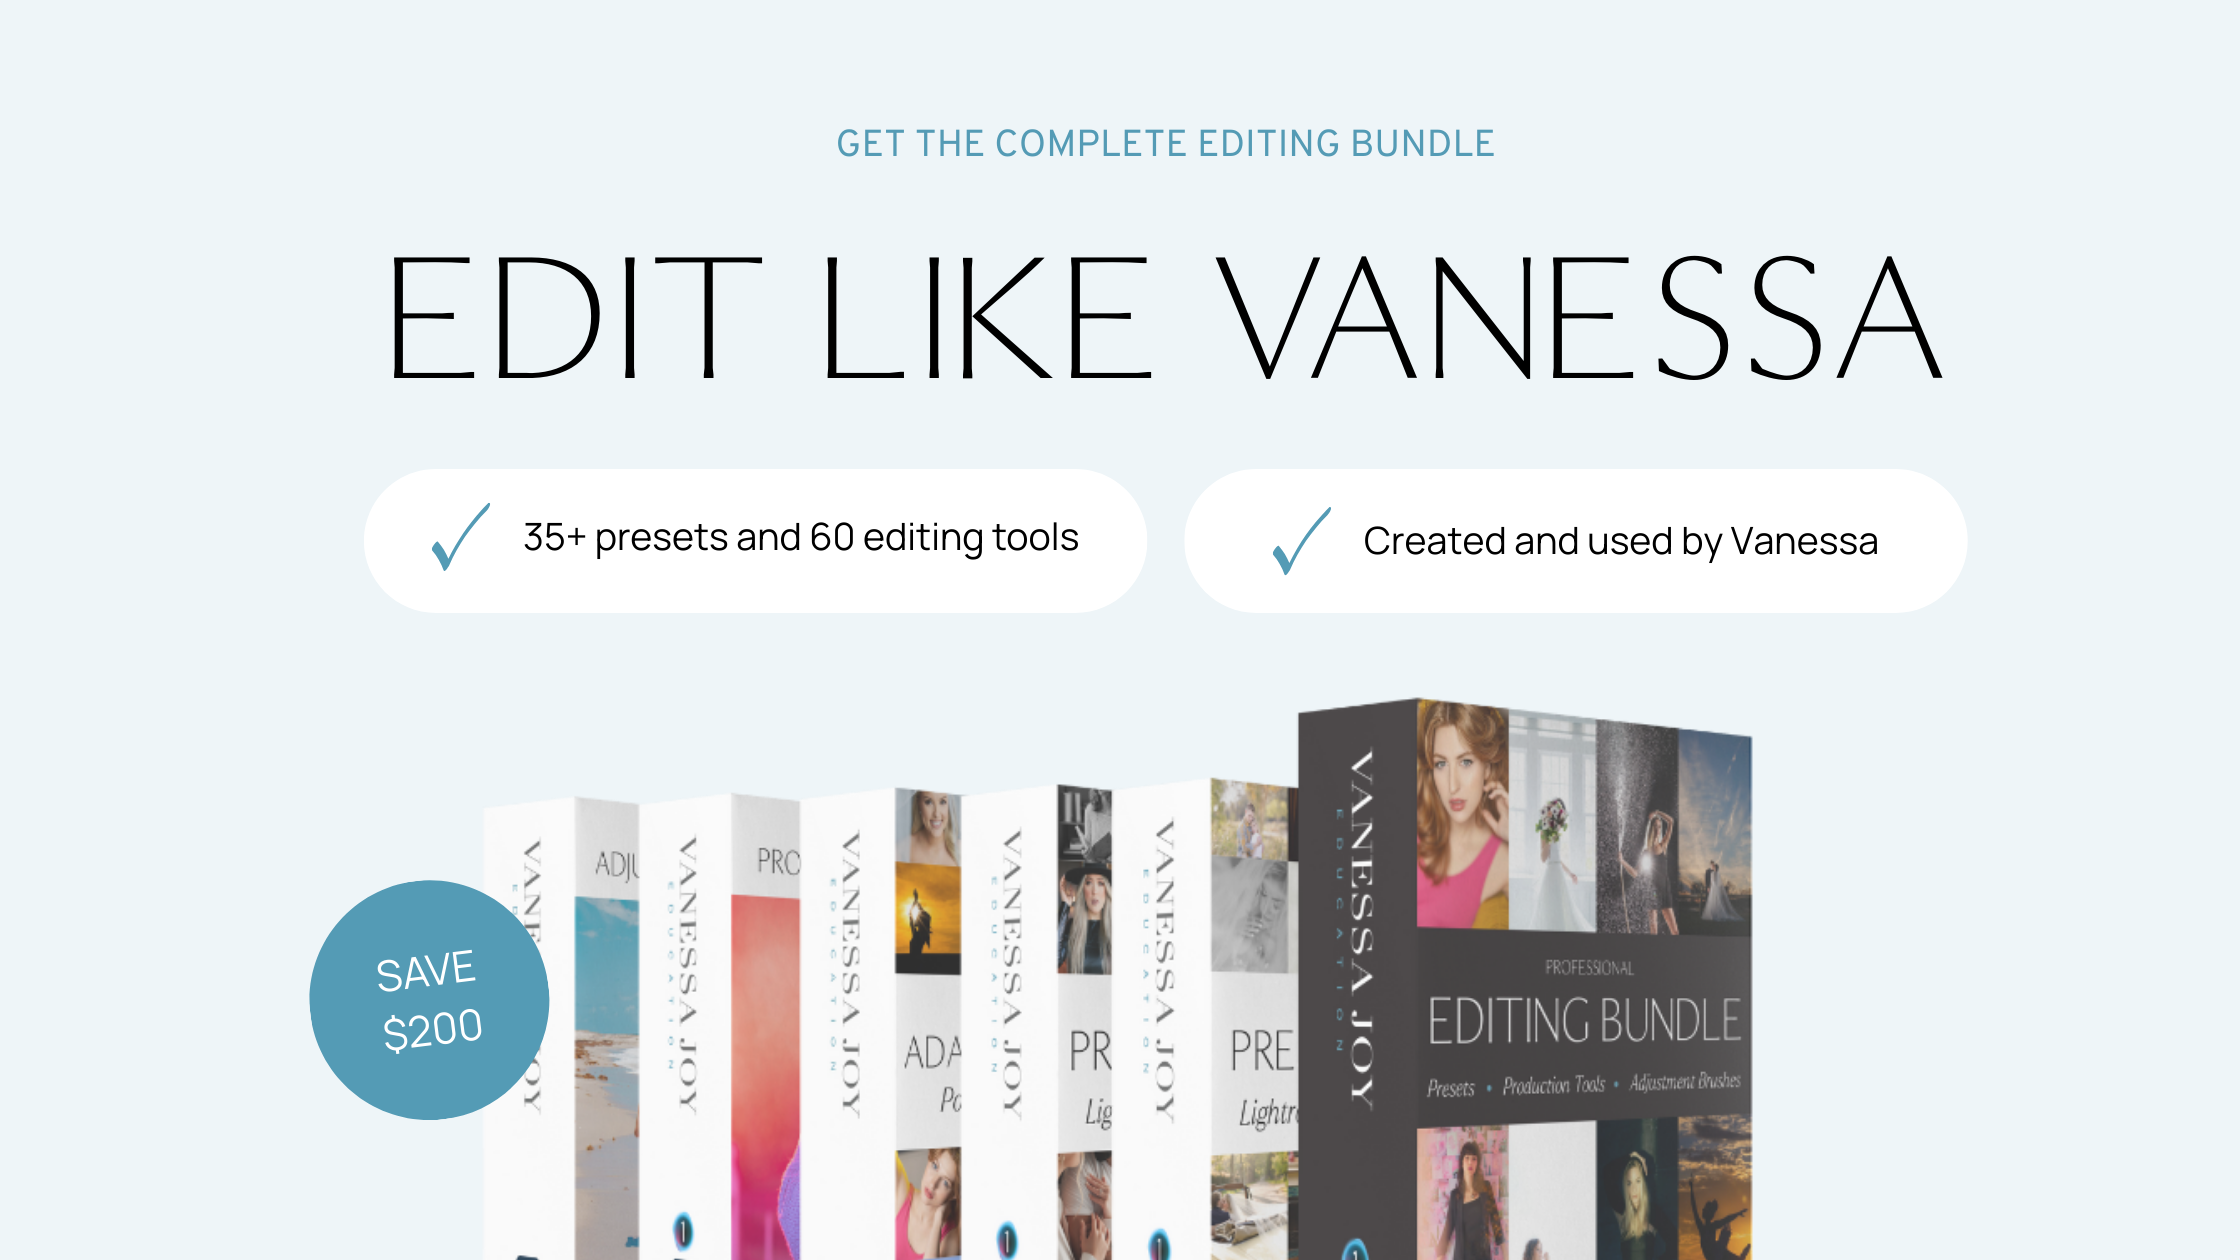
Want my Lightroom Presets? Here's your way to the shop: https://vanessajoy.samcart.com/products/the-complete-editing-bundle