5 EASY and powerful ways to use a reflector for portrait photography
Aug 28, 2025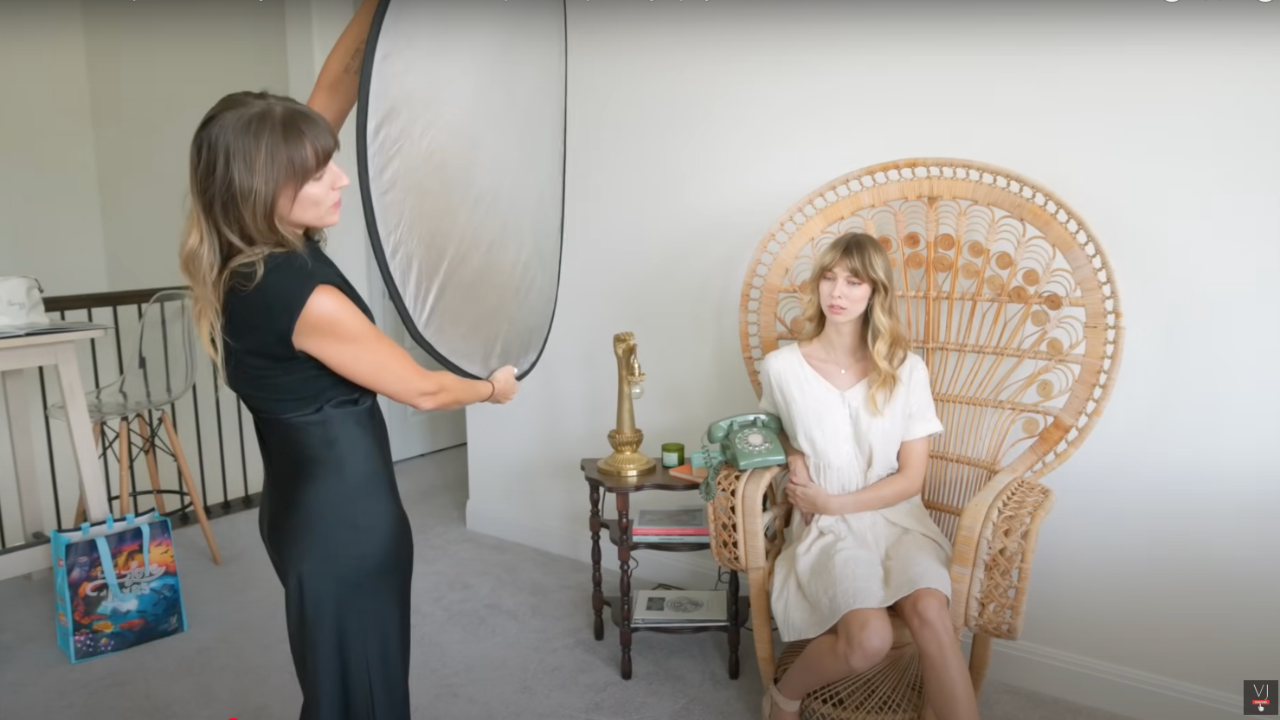
Vanessa Joy is a wedding photographer and educator helping photographers grow profitable businesses.
If you’ve ever looked at your portraits and thought, “Why does the lighting feel flat or harsh?” — you’re not alone. One of the easiest tools to completely transform your photos is a reflector. Whether you’re brand new to photography or a seasoned pro who wants to refine your skills, this post will show you simple, practical ways to make reflectors your best friend on a shoot.
Who this is for
This blog is for portrait photographers who struggle with inconsistent lighting or want more control when shooting outdoors. The problem: natural light can be unpredictable, leaving your subject in harsh shadows or dull lighting. The solution: using a reflector to create soft, flattering, and professional-looking images — without needing expensive gear.
- Bounce Light for Softer Portraits
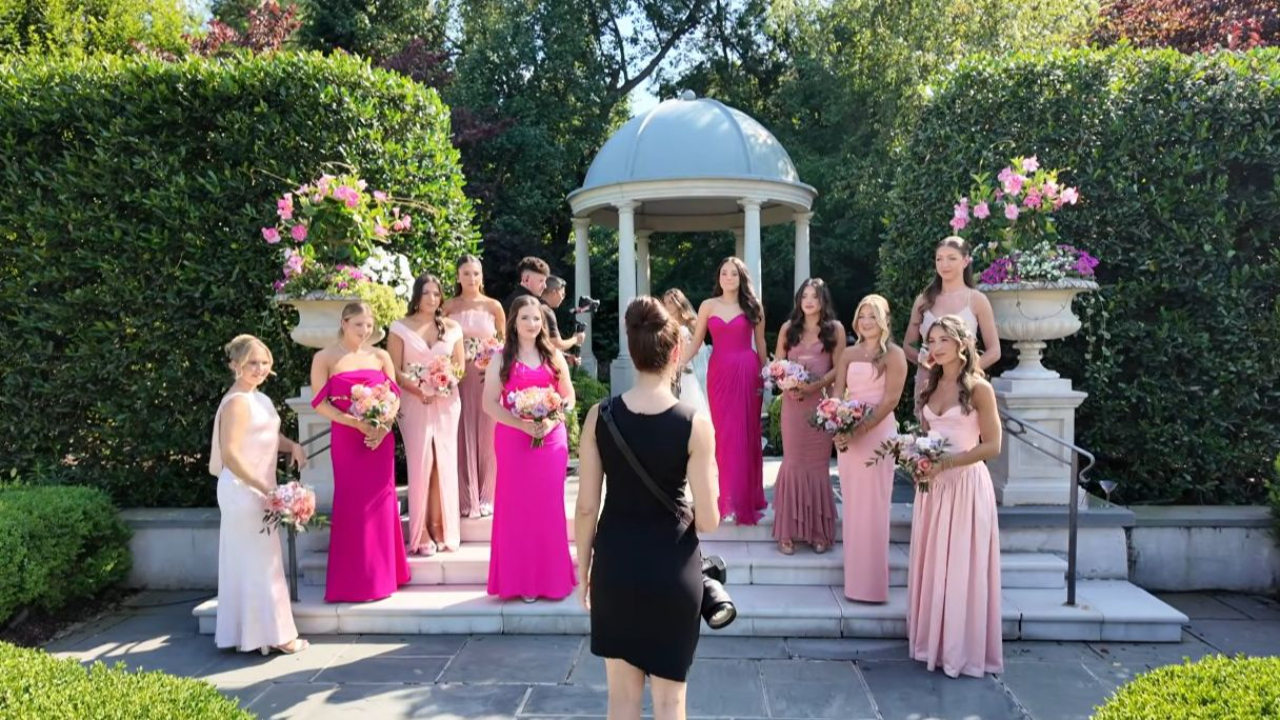
The most common use of a reflector is to bounce natural light back onto your subject’s face. Instead of shadows falling under the eyes, you’ll instantly fill them in with soft, glowing light. Just position the reflector opposite your light source and let it do the work.
- Add Drama with the Silver Side
Want your portraits to pop? Flip to the silver side of your reflector. This gives a stronger, more contrasted look and is perfect when you need a bit more brightness, especially in lower-light situations or during golden hour.
- Warm Up Skin Tones with the Gold Side
If your subject’s skin looks a little cool or washed out, try the gold side of your reflector. It adds a warm, sun-kissed glow that flatters almost everyone. Be mindful though — too much gold in harsh sunlight can look artificial, so use it when you want a subtle, golden-hour feel.
- Block Harsh Light with the Diffuser
Many 5-in-1 reflectors include a translucent panel that works as a diffuser. Hold it between your subject and direct sunlight to soften the light. This creates an even, dreamy look that’s perfect for close-up portraits or bridal details.
- Use It as a Background Tool
Reflectors aren’t just for light! Use the solid white or black side as a clean background or a flag to cut light from hitting part of your subject. It’s a quick way to get more creative control on the fly.
Bonus Tip: Make It a Team Effort
If you have an assistant, ask them to hold and adjust the reflector as you shoot. If not, look for stands or even props nearby to help position it. A little teamwork (or improvisation!) goes a long way.
Final Thoughts
A reflector may be one of the simplest tools in your camera bag, but it’s also one of the most powerful. By using it creatively, you’ll solve common lighting challenges and elevate your portrait photography instantly - no expensive lights required.
Are you ready to stop guessing and start growing your photography business with proven strategies?
My Mastermind program is designed for photographers who want to scale, find freedom, and build a business they truly love. Inside, you’ll get personalized coaching, step-by-step guidance, and the community support you need to thrive.
See if it’s the right fit for you: https://www.breatheyourpassion.com/photo-insiders-mastermind-optin

Want my Lightroom Presets? Here's your way to the shop: https://vanessajoy.samcart.com/products/the-complete-editing-bundle