How to Nail Twilight Shots in Seconds | Flash Photography at Night
Feb 16, 2026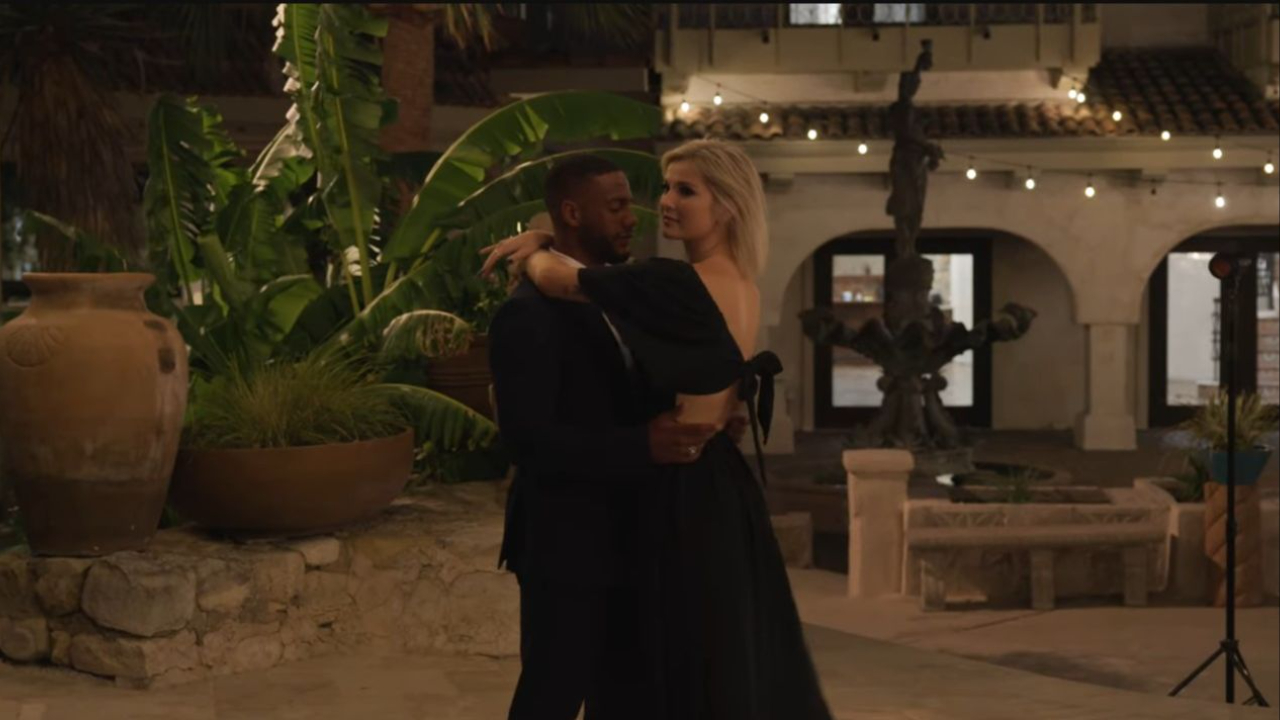
alance your subject with the ambient sky. Here’s my approach:
- Main light: Place your primary flash in a hidden position using a grid, so you don’t have to spend time editing out the equipment later.
- Modeling light: Turn on the modeling light to ensure your subject is illuminated correctly.
- Backlight kicker: Use a gelled orange light to create warmth and contrast against the blue sky, giving your images depth and a cinematic feel.
The combination of these lights allows your subject to stand out without losing the color and texture of the sky.
3. Posing for Twilight
Posing during twilight requires small adjustments for movement and elegance:
- Have your couple slightly lean into each other to create intimacy.
- Accent the shoulders and hips to add natural lines and flow.
- Encourage movement—walking, turning, or rocking slightly—to add dynamic energy to your shots.
Remember, subtle tweaks to hands, feet, and angles can make a huge difference when your time is limited.
4. Expose for Both Sky and Subject
Balancing exposure between your couple and the twilight sky is crucial:
- Expose for the backdrop first to capture the vibrant blues and ambient light.
- Add flash to illuminate your subjects. Start with automatic settings, then adjust as needed for intensity and warmth.
- Separate subject from background using a backlight kicker to create dimension, even when your subjects appear small in the frame.
This combination ensures your twilight shots are both dramatic and polished.
5. Switch Lenses for Variety
Twilight shots aren’t just about wide landscapes—they’re about storytelling and intimacy:
- Use a wide lens to capture the scene and background.
- Switch to a 135mm lens for close-ups, showing bouquet details, expressions, or romantic gestures.
By alternating between wide and intimate shots, you give your clients a complete story of the moment.
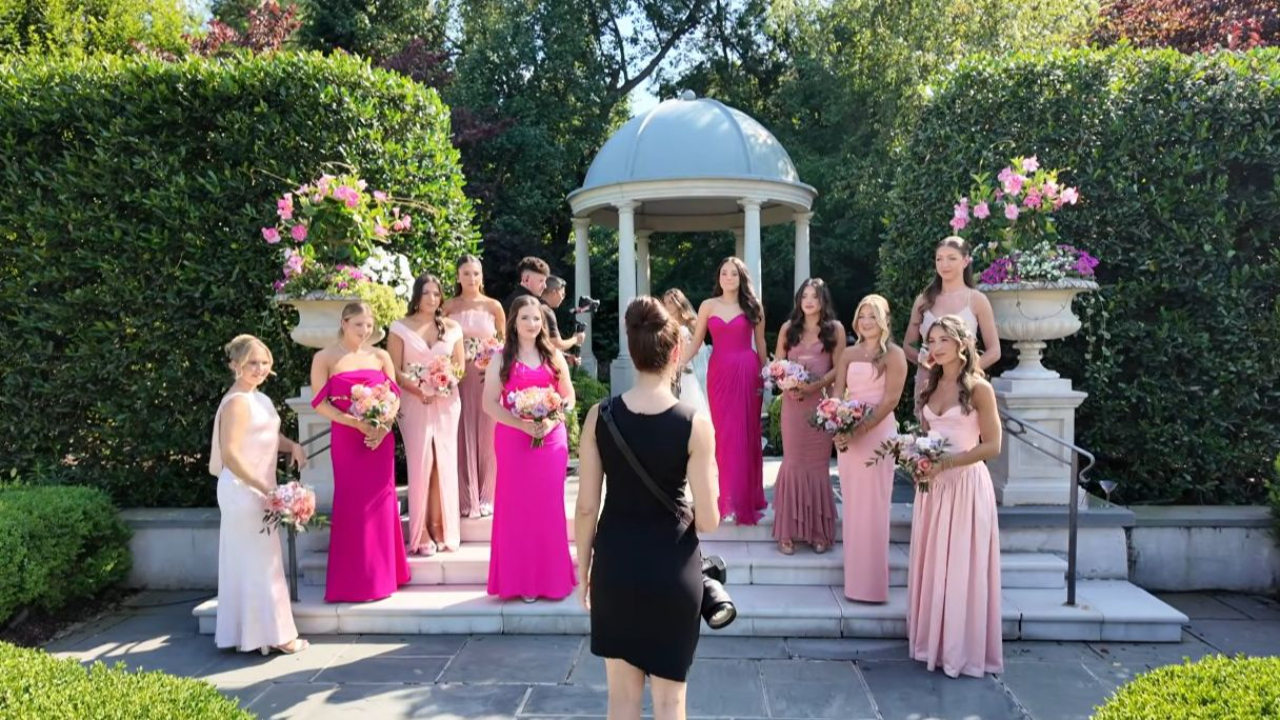
6. Tips for Working with Couples
Twilight shoots work best when your couple is comfortable and confident:
- Direct them gently: hands on waist, soft lean, natural gazes.
- Keep movement subtle but present, like walking or turning.
- Encourage interaction—they look more natural when focused on each other, not the camera.
Small adjustments to posture, shoulder angle, and gaze can transform a standard photo into something cinematic.
7. Posture, Flow, and the Final Touches
Even in seconds, your goal is to make every shot look effortless:
- Keep shoulders relaxed and neck elongated.
- Use the backlight to separate your subject from the fading sky.
- Capture a mix of wide, medium, and close-up shots to maximize storytelling potential.
8. Sponsor Spotlight: Squarespace
A professional website is crucial to showcase your twilight photography. I’ve personally used Squarespace for over a decade to create clean, modern portfolios that highlight my work. Benefits include:
- Beautiful, mobile-optimized templates.
- SEO-friendly structure to help potential clients find you.
- Built-in galleries that load quickly and look crisp.
- Integrated client booking and e-commerce tools.
If you’re thinking about creating or upgrading your photography website, Squarespace can help you showcase your skills professionally and efficiently.
Final Thoughts
Twilight photography doesn’t have to be stressful. By planning ahead, positioning lights strategically, posing intentionally, and balancing exposure, you can capture breathtaking shots in mere seconds.
Remember: practice makes perfect, and the more you experiment with light, lenses, and posing, the more confident you’ll be during those fleeting twilight moments.
Want more photography tips, lighting tutorials, and behind-the-scenes insights? Subscribe to my YouTube channel and stay inspired!
See if it’s the right fit for you: https://www.breatheyourpassion.com/photo-insiders-mastermind-optin

Want my Lightroom Presets? Here's your way to the shop: https://vanessajoy.samcart.com/products/the-complete-editing-bundle