Canon R6: Quick Start User's Setup Guide (Easy Steps)
Apr 16, 2023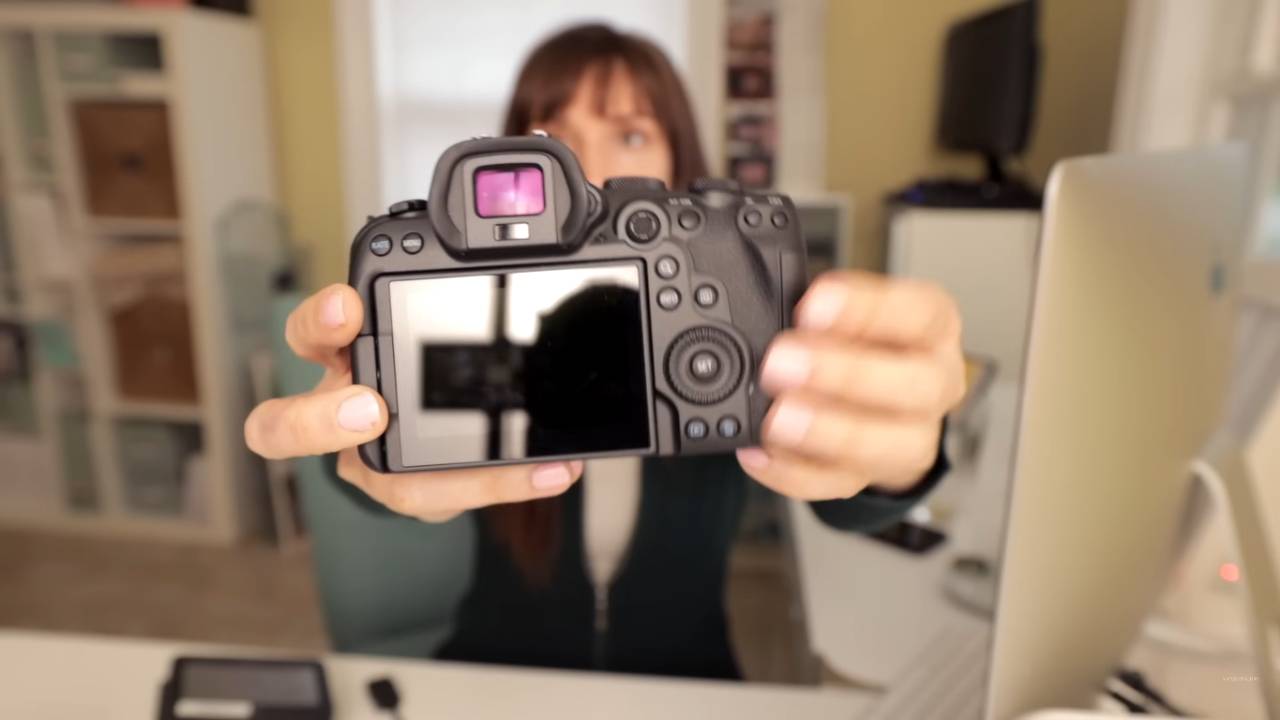
As a photographer, I'm always on the lookout for ways to make the most of my equipment and get the results I want from my photos. That's why I'm excited to share with you my Quick Start Guide to the Canon EOS R6.

In this guide, I won't be going through every single menu operation, but instead, I'll be highlighting the things that you should change or might want to consider when you're just getting to know your camera.
First, let's take a look at some of the ports and dials on the R6. The camera has a micro HDMI port, a microphone port, a headphone port, a USB port, and a remote trigger port. The dials on the camera are going to be familiar if you've used DSLR cameras before. The main dials are easily accessible when you hold the camera and you've also got control dials at the top to set your camera mode.


When it comes to the menu system, there are two different screens you should know about. One is for when you have the camera in any photo mode, and the other is for when it's in video mode. I recommend setting your dial to any of the photo modes to access the first menu system.
In the photo menu system, the first thing you'll want to set is the Image Quality. I like to shoot RAW in one card slot and JPEG in the other, but this is entirely up to you. You'll also want to keep the Crop and Aspect Ratio setting at full, which is the default. For the ISO settings, I like to go down to the minimum and select L, which gives you an extra bit of range. I also recommend leaving the Auto Speed Range setting as is.
When it comes to White Balance, I usually keep it on Auto. But you can also set a custom white balance if you want to. And for the Color Space, I personally like to shoot in Adobe RGB, but if you're just a hobbyist or budding professional, SRGB is probably fine.

In conclusion, these are just some of the things you should consider when getting started with your Canon EOS R6. I hope this Quick Start Guide helps you make the most of your camera and achieve the results you want from your photos. Don't forget to grab my free posing inspiration guide from the description of this video for some inspiration for your shoots!
As a photographer, I have always been fascinated by the workings of a camera. And today, I want to share with you some of my personal preferences and settings when it comes to using the Canon EOS R5.
To start off, I keep the exposure simulation enabled. This means that the electronic viewfinder (EVF) shows me how the final photo would look in terms of exposure - how bright or how dark the image is. However, there are times when I need to turn it off, such as when I am shooting in low light with the flash, in which case I need the picture to brighten up so that I can see what I am photographing.
The shooting info display is another feature I like to keep on, as it shows me the type of information I want on the screen while shooting. I personally prefer to have the histogram display on and set the viewfinder display format to fill the whole screen. The display performance is set to nice and smooth, which means the EVF looks as natural to the human eye as possible.
Moving on to movie sound and quality recording, I prefer to stay on Full HD at 30 frames per second. I only switch to 4K when I know I will be shooting something specific that requires it. For sound recording, I usually keep it on auto, unless I am trying to control the quality. As for the ISO speed settings, I set the maximum range so that I don't limit myself.


The autofocus operation is set to the servo, as I want to let the camera's advanced autofocus technology do its job. I also enable face detection and tracking, eye detection, continuous autofocus, and movie servo autofocus. My touch and drag settings are enabled, as I find it convenient to use my thumb to click and move the autofocus point to where I want it. I keep the active touch area on the right-hand side so that I can control it easily.
Finally, in the play button section, I keep the settings as is, with the exception of the highlight alert, which I enable. This allows me to check if any part of the image is overexposed.
These are just my personal preferences, and I hope this gives you some insight into how I set up my Canon EOS R5. Of course, what works for me may not work for you, so feel free to experiment and find what works best for you.
Are you ready to stop guessing and start growing your photography business with proven strategies?
My Mastermind program is designed for photographers who want to scale, find freedom, and build a business they truly love. Inside, you’ll get personalized coaching, step-by-step guidance, and the community support you need to thrive.
See if it’s the right fit for you: https://www.breatheyourpassion.com/photo-insiders-mastermind-optin

Want my Lightroom Presets? Here's your way to the shop: https://vanessajoy.samcart.com/products/the-complete-editing-bundle